

Easy Strawberry Layer Cake – 2 Elegant Layers
Table of Contents
There’s something undeniably special about a homemade strawberry layer cake that captivates both the eye and taste buds. This strawberry layer cake recipe offers the perfect balance of light, fluffy cake layers combined with fresh, juicy strawberries and smooth whipped cream, creating a dessert that’s both visually stunning and irresistibly delicious. Whether you’re celebrating a birthday, hosting a summer gathering, or simply craving something sweet, this easy strawberry layer cake will help you create a stunning dessert that looks professional but requires minimal effort.
What Makes This Strawberry Layer Cake Special
What makes this strawberry layer cake truly exceptional is its simplicity combined with its elegant presentation. Unlike complicated bakery versions that require advanced baking skills, this strawberry layer cake recipe uses straightforward techniques and common ingredients to create something truly spectacular. The two perfectly baked vanilla cake layers sandwich fresh strawberries and light whipped cream, creating a strawberry layer cake that’s perfect for any occasion.
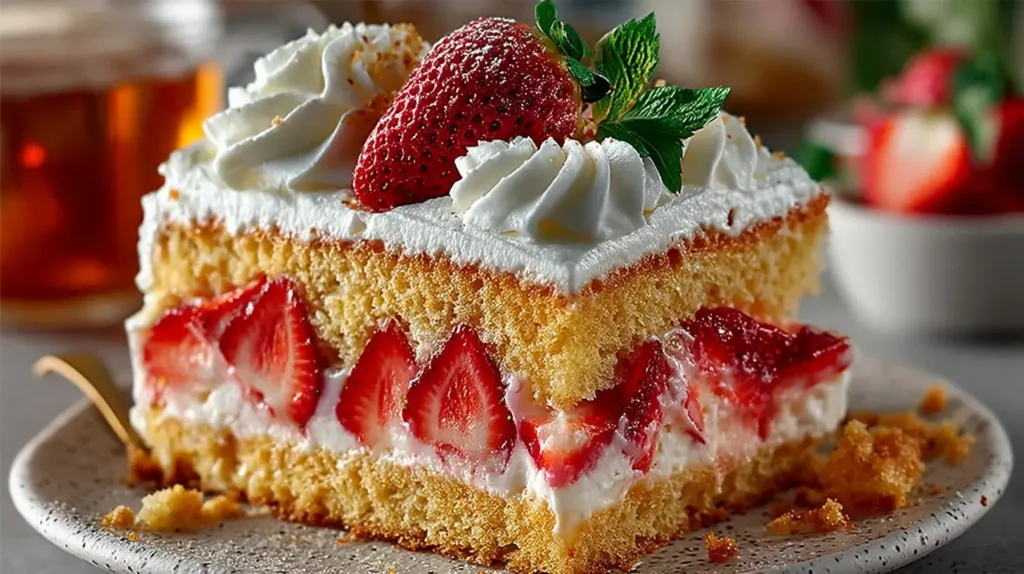
This recipe strikes the ideal balance between sweetness and freshness. The natural tartness of the strawberries complements the subtle sweetness of the cake and whipped cream, resulting in a dessert that satisfies your sweet tooth without overwhelming your palate. The visual appeal is equally impressive – when sliced, the contrast between the golden cake layers, white cream, and bright red strawberries creates a stunning presentation that’s sure to impress your guests.
Ingredients You’ll Need
For the Cake:
- 2 ½ cups all-purpose flour
- 1 cup granulated sugar
- 4 large eggs
- ½ cup milk
- ½ cup vegetable oil
- 2 teaspoons baking powder
- 1 teaspoon vanilla extract
For the Whipped Cream Frosting:
- 2 cups heavy whipping cream (chilled)
- ¾ cup powdered sugar
- 1 teaspoon vanilla extract
For Decoration:
- 1 lb fresh strawberries (whole and sliced)
- Gold and red sugar pearls
- Red sprinkles
- Pink food coloring (optional)
Step-by-Step Instructions
1. Preparing the Cake Layers
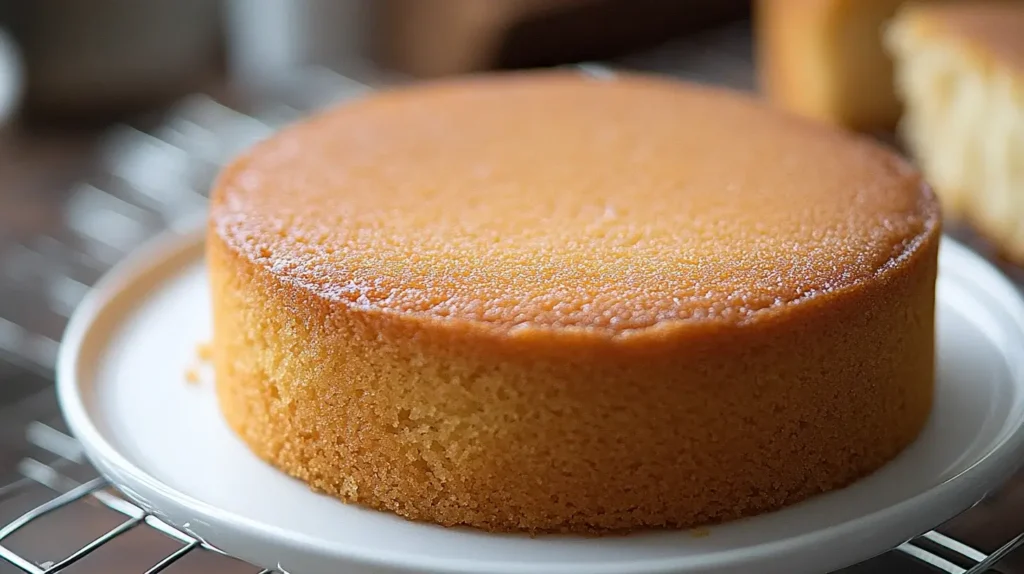
Preheat the Oven: Begin by setting your oven to 350°F (175°C). While it’s heating, prepare two 8-inch round cake pans by greasing them thoroughly and lining the bottoms with parchment paper. This preparation ensures your cakes will release easily after baking.
Mix Dry Ingredients: In a large mixing bowl, whisk together 2 ½ cups all-purpose flour, 2 teaspoons baking powder, and 1 cup granulated sugar until well combined. Thorough mixing at this stage ensures the baking powder is evenly distributed throughout the batter, which is essential for proper rising.
Combine Wet Ingredients: In a separate bowl, whisk together 4 large eggs, ½ cup milk, ½ cup vegetable oil, and 1 teaspoon vanilla extract until smooth and well blended. The vegetable oil in this recipe (instead of butter) helps create a moist cake with a tender crumb that remains fresh longer.
Create the Batter: Slowly pour the wet mixture into the dry ingredients, stirring gently as you go. Mix just until combined – overmixing can develop too much gluten, resulting in a tough cake. The finished batter should be smooth and pourable, but not too thin.
Bake: Divide the batter evenly between your prepared cake pans. For precise layers, use a kitchen scale to measure equal amounts in each pan. Place the pans in your preheated oven and bake for 25–30 minutes. You’ll know they’re done when the tops are lightly golden and a toothpick inserted into the center comes out clean or with just a few crumbs attached.
Allow the cakes to cool in their pans for about 10 minutes before carefully turning them out onto wire cooling racks. Let them cool completely before assembling – this is crucial, as adding frosting to warm cakes will cause it to melt.
2. Making the Perfect Whipped Cream Frosting
While your cake layers are cooling, prepare your whipped cream frosting. For best results, chill your mixing bowl and beaters in the freezer for 15 minutes before starting – cold equipment helps the cream whip faster and achieve better volume.
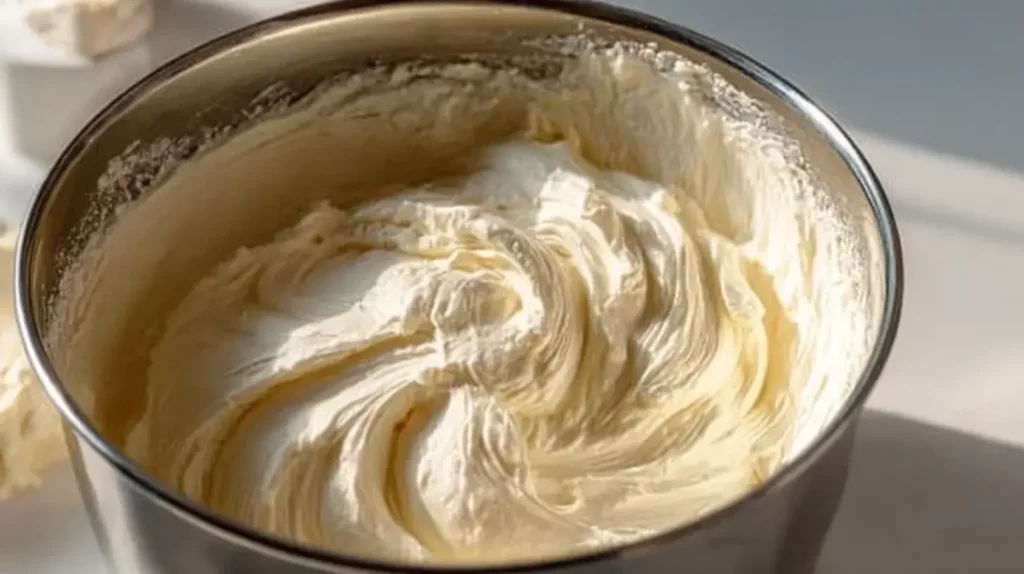
Whip the Cream: Pour 2 cups of cold heavy whipping cream into your chilled bowl and begin beating on medium speed. As the cream starts to thicken, gradually increase the speed to medium-high.
Sweeten and Flavor: When the cream begins to form soft peaks, gradually add ¾ cup powdered sugar and 1 teaspoon vanilla extract while continuing to beat. The powdered sugar not only sweetens the cream but also helps stabilize it, making it firmer and less likely to weep or deflate over time.
Continue beating until stiff peaks form – this means the cream should hold its shape firmly when the beaters are lifted. Be careful not to overbeat, which can turn your cream grainy or even begin to separate into butter. The finished whipped cream should be smooth, glossy, and hold its shape well enough for spreading and piping.
3. Assembling Your Beautiful Cake
Now comes the fun part – bringing all the elements together to create your stunning strawberry layer cake.
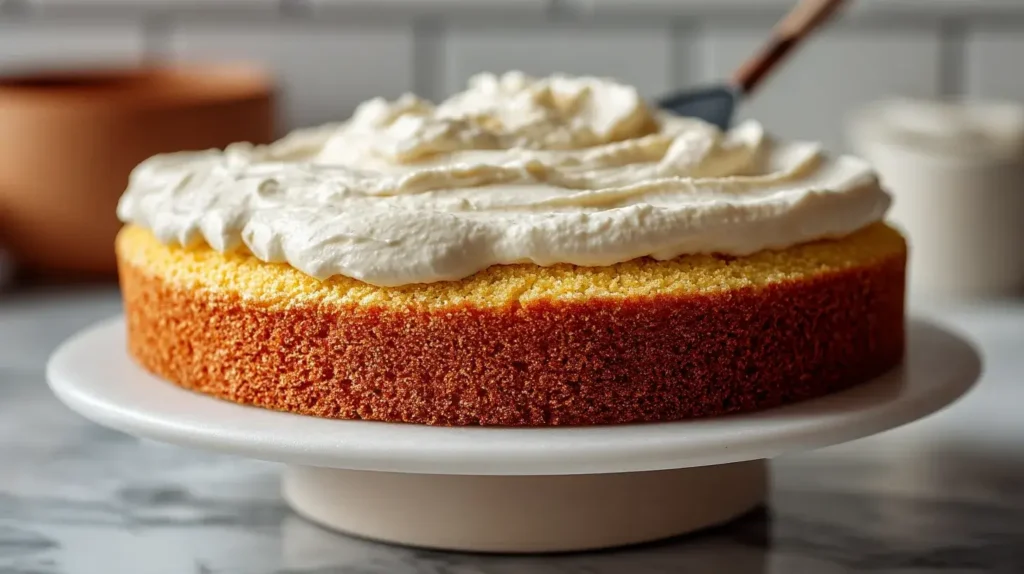
Base Layer: Place one completely cooled cake layer on a serving plate or cake stand. If your cake layers have domed during baking, you might want to level them using a serrated knife for a more professional look.
Add First Layer of Cream: Spread a thin layer of whipped cream evenly over the top of the first cake layer. Leave about a half-inch border around the edge, as the weight of the second layer will push the cream outward.
Add Strawberries: Arrange a layer of thinly sliced strawberries over the cream. Place them in an overlapping pattern for both visual appeal and to ensure every bite includes strawberry flavor.
Top Layer: Carefully position the second cake layer on top of the strawberries. Press down very gently to secure it in place.
Frost the Entire Cake: Using an offset spatula or butter knife, cover the entire cake – top and sides – with whipped cream. For a smooth finish, dip your spatula in warm water, wipe it clean, and then use it to smooth the frosting.
Create a Gradient Effect (Optional): For an extra touch of elegance, divide your remaining whipped cream into two portions. Tint one portion pink with food coloring (if desired) and apply it to the bottom half of the cake, leaving the top half white to create a beautiful gradient effect. Blend the colors together at the middle for a seamless transition.
4. Decorating for Maximum Impact
The decoration is what transforms this cake from simply delicious to absolutely stunning.
Arrange Fresh Strawberries: Place whole and halved strawberries on top of the cake. You can create a simple circle around the edge or cover the entire top surface for maximum impact.
Add Sparkle: Sprinkle gold and red sugar pearls among the strawberries. These tiny decorative elements catch the light beautifully and add a touch of sophistication.
Finish with Sprinkles: Add red sprinkles around the base of the cake for a playful finishing touch that ties the decoration scheme together.
Pro Tip for the Perfect Finish
Refrigerate Before Serving: For the best flavor and texture, refrigerate your completed cake for at least 2 hours before serving. This resting period allows the flavors to meld beautifully, with the cake layers absorbing subtle notes from the strawberries and cream. It also helps the whipped cream frosting set, making the cake easier to slice cleanly.
Making Ahead and Storage Recommendations
This strawberry layer cake can be prepared in stages if you’re short on time:
Cake Layers: You can bake the cake layers up to two days in advance. Once completely cooled, wrap them tightly in plastic wrap and store at room temperature or refrigerate if your kitchen is warm.
Whipped Cream: The whipped cream frosting is best made shortly before assembling the cake, as it can lose volume over time. However, you can stabilize it by adding 1-2 tablespoons of instant vanilla pudding mix to the cream before whipping.
Assembled Cake: Once assembled, the cake will keep well in the refrigerator for up to 3 days. Cover loosely with plastic wrap or place in a cake carrier to protect it.
Serving: For the best flavor experience, remove the cake from the refrigerator about 15-20 minutes before serving to take the chill off. This allows the flavors to fully express themselves.
Variations Strawberry Layer Cake to Try
While this classic strawberry layer cake is perfect as is, here are some delicious variations to consider:
Chocolate Drizzle: Add a drizzle of melted dark or white chocolate over the strawberries on top for an extra touch of decadence.
Citrus Accent: Add the zest of one lemon or orange to the cake batter for a bright, complementary flavor that enhances the strawberries.
Alternative Berries: While strawberries are the star, you can incorporate other berries like blueberries or raspberries for added color and flavor complexity.
Liqueur Enhancement: For an adults-only version, brush each cake layer with 2-3 tablespoons of strawberry liqueur, Chambord, or even Prosecco before adding the whipped cream.
Why This Strawberry Layer Cake Will Become Your Signature Dessert
This strawberry layer cake delivers professional-looking results without requiring advanced baking skills. The combination of tender vanilla cake layers, fresh strawberries, and light whipped cream creates a strawberry layer cake that’s perfect for spring and summer celebrations but welcome at any time of year.
The beauty of this strawberry layer cake lies not just in its appearance but in the joy it brings to both the baker and those fortunate enough to enjoy a slice. There’s something deeply satisfying about creating something so beautiful and delicious from simple ingredients – a true testament to the magic that happens in the kitchen when quality ingredients meet a well-crafted recipe.
Whether you’re a novice baker or an experienced one looking for a reliable, crowd-pleasing dessert, this strawberry layer cake is sure to become a favorite in your recipe collection. With its perfect balance of flavors, elegant appearance, and straightforward preparation, it’s the ideal choice for special occasions or anytime you crave a slice of sweet perfection.
More Fruity Delights From Our Kitchen
Craving an equally fruity dessert, but without any baking? Discover my 5-Star Raspberry Parfaits – a light and elegant treat served in elegant glasses! The recipe already published on my blog is 5-Star Irresistible Raspberry Cream Parfaits – The Best No-Bake Dessert.

